
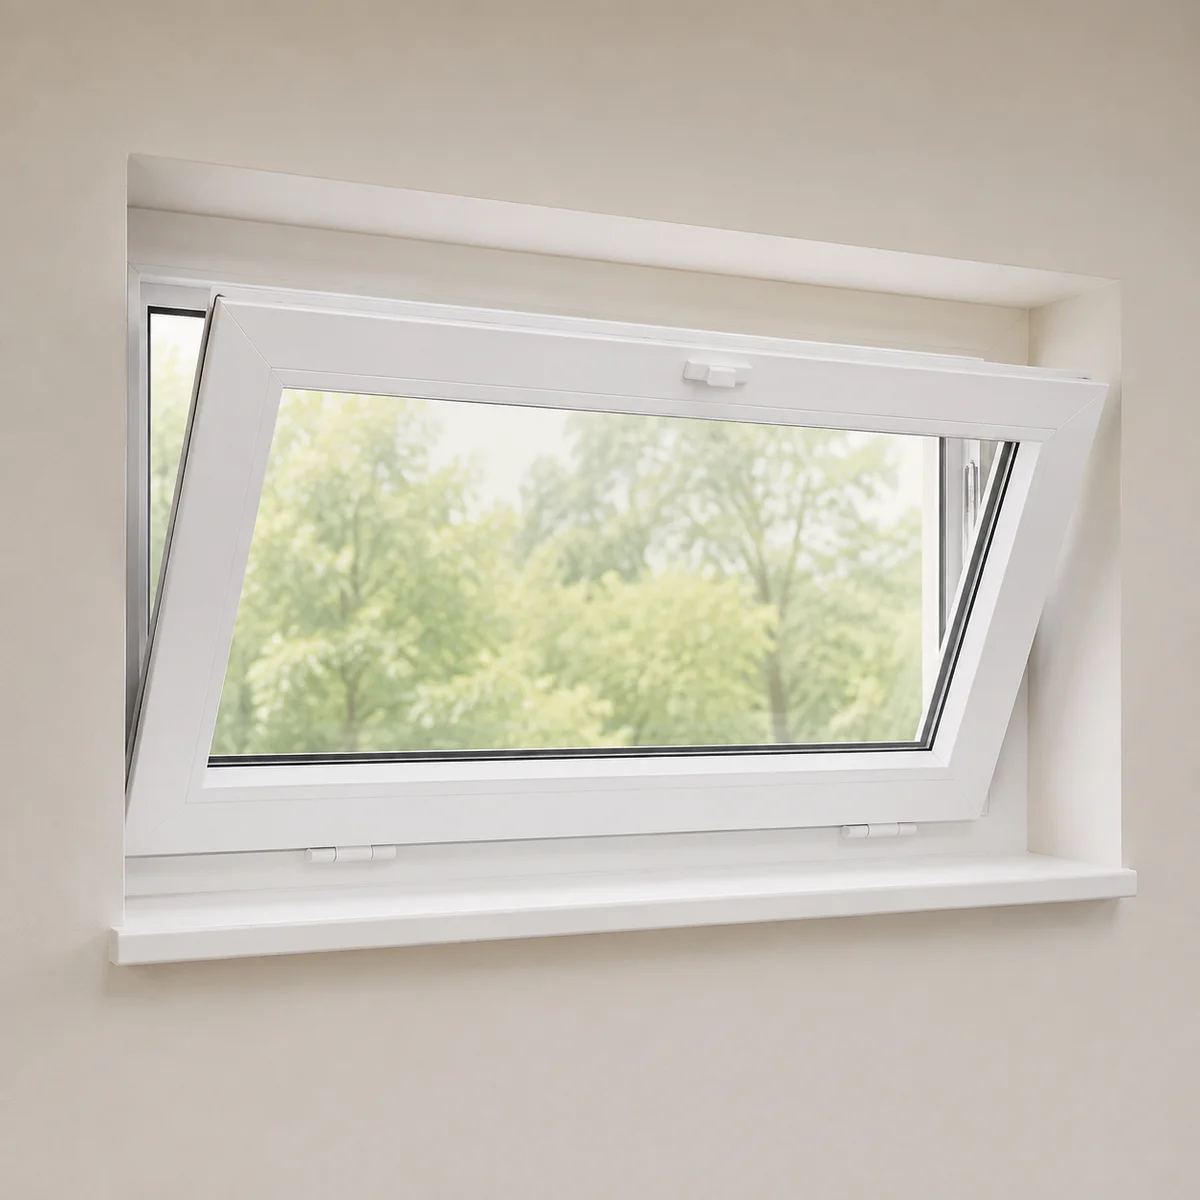
Is this the right window for your room?
Often considered for basement or utility openings where a limited ventilation position is useful. Compare where the tilted sash sits relative to shelves, blinds and the interior sill.
A hopper is not automatically an egress window. The actual unobstructed opening, hardware and surrounding space determine whether a specific window can serve the intended use. Interior clearance remains important even with a small sash.
How the design works
Check the latch, hinge support and any opening restrictor on the sample. The sash should settle consistently into its seals; frame alignment and clean contact surfaces help maintain that fit.
| Detail | What to know |
|---|---|
| Operation | Bottom hinged, inward tilt |
| Configuration | Compact ventilation opening |
| Planning detail | Interior clearance required |
| Typical application | Basements and utility rooms |
Construction of hopper windows
A hopper pivots inward from its lower edge, with the upper edge moving into the room. Its compact form can provide ventilation in a shallow opening without creating an outward-projecting sash.
The friction hinge or other approved support controls how far the sash tilts and holds it in its permitted position. A small frame still needs adequate room inside; shelves, stored items and blinds can obstruct the moving top edge.
Basement planning should include the exterior well or grade level, water-management condition and access for cleaning. The window assembly cannot correct drainage problems outside the opening by itself.
Hardware, support and everyday operation
The following components explain what to compare in this configuration. The order specification identifies the exact supplied parts; an option listed here is not automatically included in every unit.
| Component | Its role in your window |
|---|---|
| Bottom support or friction hinge | Controls the tilt movement. Its permitted travel is part of the chosen window design. |
| Upper latch | Holds the sash closed against its seals. Check reach and alignment at the installed height. |
| Opening restraint | Any limiting mechanism must remain intact and be used as instructed. |
| Screen | Confirm screen location and how it can be cleaned or removed without reaching into an unsafe exterior well. |
Colours, glass, grilles and finishing choices
| Selection | What to decide for this style |
|---|---|
| Opening size | Use the actual frame, sash and clear-opening dimensions; no universal hopper maximum is supplied here. |
| Privacy glazing | A grade-level window can need privacy while retaining daylight. Compare the glass from the exterior viewing height. |
| Interior finish | Use trim that leaves the tilted sash and latch accessible in a utility or storage area. |
| Glass package | Confirm the allowed weight and thickness for the compact hinge arrangement. |
| Exterior detail | Review the transition to a window well, masonry or siding and preserve drainage paths. |
| Screen and coverings | Account for the inward tilt before fitting a blind or a fixed shelf near the opening. |
Installing hopper windows
Photograph the outside of a basement opening from grade level and the inside with nearby storage visible. That helps identify water exposure, restricted working space and the practical reach to the latch.
After installation, check the tilt restraint, latch engagement and accessible drainage details. If the room is intended as a bedroom, have the required opening and escape route assessed independently of the hopper’s compact appearance.
Performance of the selected assembly
A universal rating is not assigned to hopper windows. The actual glass, frame, dimensions and opening configuration establish which performance record applies.
Watch and compare in person
Explore the showroom overview to see the scale of the displays, then try the relevant opening style during your visit. Individual product-operation footage will be added after the dedicated filming; a showroom overview is not a demonstration of this exact configuration.
A look at the production setting
A short view of window assemblies and equipment on the manufacturing floor. This is background context for the product conversation, not a complete account of every production stage.
Read the silent video description
The camera moves through a manufacturing area with window assemblies, equipment and workstations. This silent overview shows the setting rather than a step-by-step production tutorial.