
A design direction, not just a name
A slim appearance can suit a design where minimal framing is important. Compare glass area at equal outside dimensions, then examine the frame and sash details from both sides.
The researched frame references are 3¼ inches for the classic design and 2⅞ inches for the slimmer profile. These dimensions require product-level confirmation and should not be interpreted as universal visible sightline measurements.
Check the selected configuration
- Opening style and approved dimensions.
- Double- or triple-pane glass compatibility.
- Operator, hinges and locking components.
- Colour, grille, screen and trim options.
- Applicable performance and warranty documents.
See the profile and the finished window
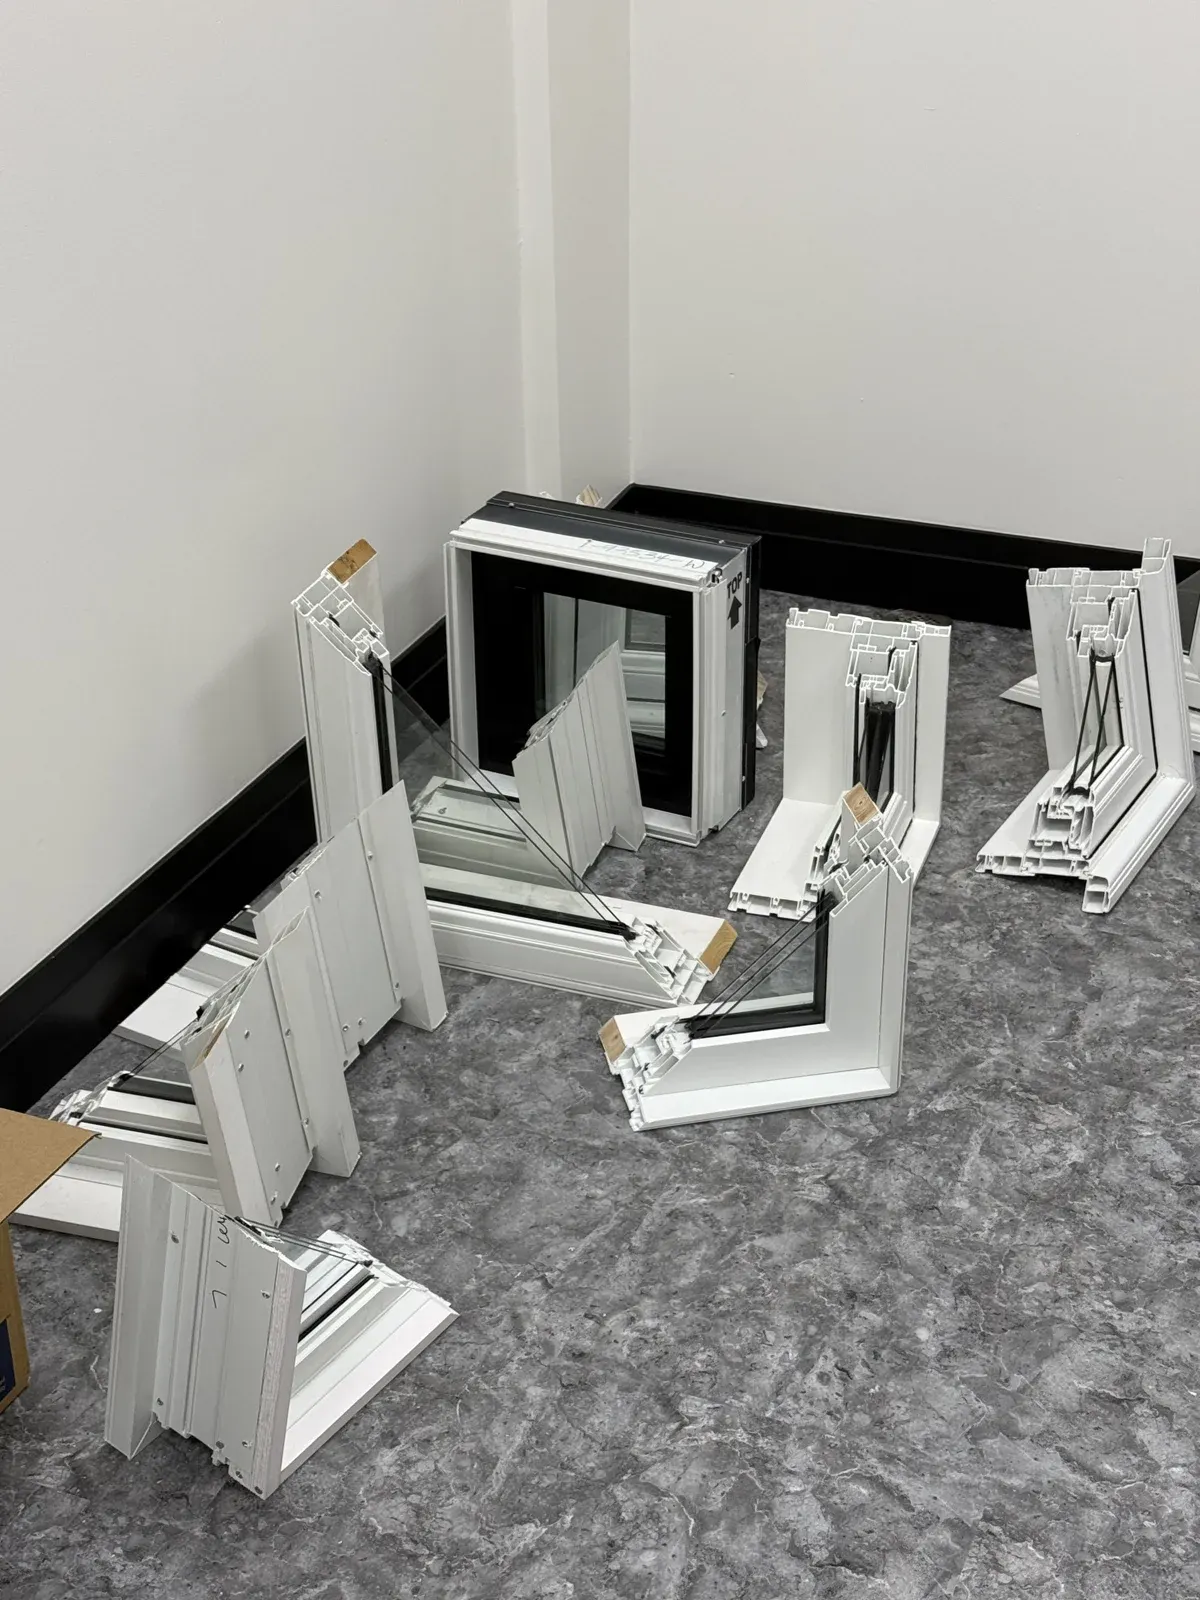
A cross-section reveals the construction, while a full display shows the proportions. Use both before deciding. The home estimate then confirms how the selected assembly will meet the existing opening.
Read the slim profile in section
A slim-profile direction emphasizes cleaner visible proportions around the glass. The 2⅞-inch reference describes a profile dimension that must be matched to the actual series drawing. It does not by itself tell you the finished glass area, the jamb extension required or the sightline of every fixed and operating combination.
For a contemporary elevation, compare how frame divisions align across a picture window, a moving sash and a nearby patio door. A slimmer-looking sample is only useful if the selected systems can preserve the intended proportions at the actual opening sizes.
Profile anatomy: the details to compare
| Part of the assembly | What it does | What to ask |
|---|---|---|
| Frame and internal chambers | Form the perimeter around the opening. | Which section and depth apply to this configuration? |
| Sash | Carries glass in an operating window. | How does its sightline align with fixed units? |
| Corner construction | Connects the profile members. | Review the corner sample and finish quality. |
| Reinforcement | Supports configurations that require additional stiffness. | Where is it specified for this size, colour and glazing? |
| Weather seals | Meet at the sash and frame closing surfaces. | Where are the contact points and how are seals serviced? |
| Glazing support and spacer | Support the glass unit and separate its panes. | Which glass thickness and edge construction are approved? |
| Drainage path | Directs collected water toward designated outlets. | Which outlets must remain clear after installation? |
Confirm compatibility before selecting a series
A slim appearance should not be obtained by substituting an incompatible profile into a larger or heavier assembly. Fixed glass, crank-operated windows and sliding systems can use different frame and hardware arrangements. Confirm the actual series offered for each opening.
| Configuration | Compatibility review |
|---|---|
| Casement and awning | Approved operator, hinges, locking points and sash weight. |
| Fixed picture or fixed casement | Glass support, maximum dimensions and visual alignment with operating units. |
| Double or triple glazing | Glazing thickness, weight and the relevant size/performance record. |
| Dark or dual finishes | Approved finish combination and any related restrictions. |
| Combined openings | Joining detail, support and continuous sightlines. |
Keep the surrounding finish visually quiet
A flat casing, restrained grille layout and carefully positioned blind can reinforce a simple frame design. Compare the finished depth at the sill and the projection of handles before committing to a shallow inside-mounted covering.
Use the same exterior finish sample across adjacent openings, then check the actual glass appearance. A consistent colour cannot hide a mismatch in grille alignment or coating reflection.
What belongs in the approved product record
- The series and model identifier for each opening.
- A dimensioned configuration drawing showing fixed and moving sections.
- Approved glass, hardware, screen and finish selections.
- Applicable whole-product performance and certification records.
- Installation requirements, care guidance and warranty documents.
A look at the production setting
A short view of window assemblies and equipment on the manufacturing floor. This is background context for the product conversation, not a complete account of every production stage.
Read the silent video description
The camera moves through a manufacturing area with window assemblies, equipment and workstations. This silent overview shows the setting rather than a step-by-step production tutorial.